

When using the Membership section in HighLevel, you can customize various settings and features to make the Membership experience work for your users exactly as you wish.
Step 1: Accessing the Settings in HighLevel
- Navigate to Sites > Membership
- Here you can access “Site Details”, “Custom Domains”, and “Email Settings”

Step 2: Customizing the Settings
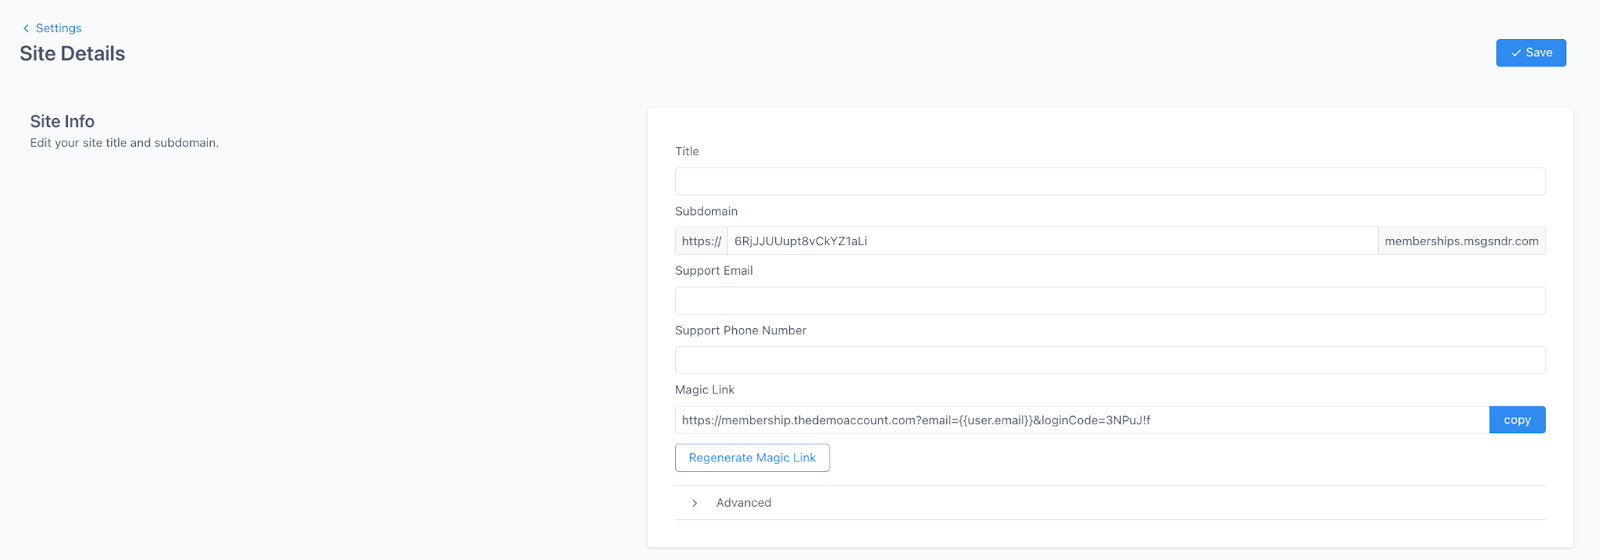
- Click into “Site Details” to update Site Info, Branding, and Builder Settings in HighLevel.
- Site Info: Add your site title, subdomain, support information, and any custom code.
- Branding: add a logo and favicon
- Builder Settings: toggle on or off the download video option
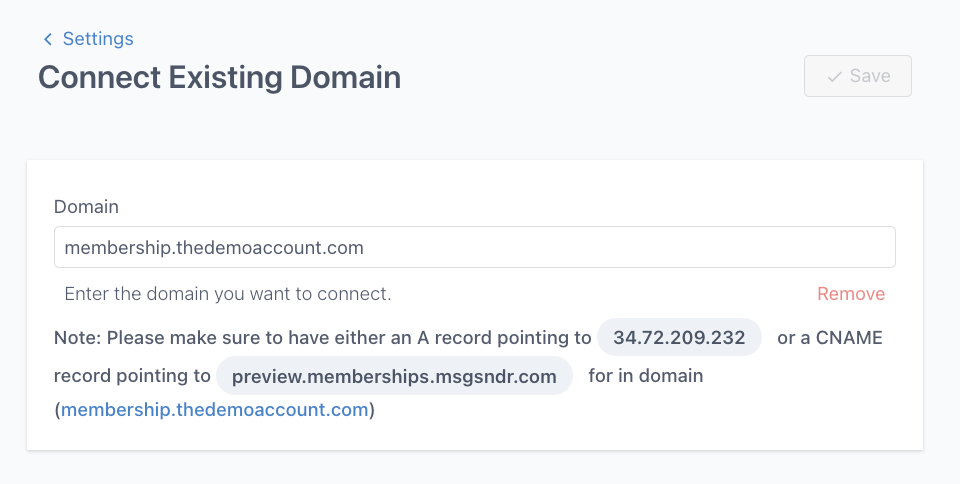
- Click into “Custom Domains” to add a custom domain.
- Click into “Email Settings” to update email settings for the welcome and drip email.
- Toggle on or off the option to automatically send a welcome email when someone completes an offer checkout
- Toggle on or off the option to automatically send an email when drip category is available

- Save any changes you make before leaving the Settings sections.
Frequently Asked Questions
What does “How To Customize Membership Settings in HighLevel” cover?
When using the Membership section in HighLevel, you can customize various settings and features to make the Membership experience work for your users exactly as you wish.
Start Your HighLevel Free Trial
Browse all GoHighLevel guides · HighLevel Membership.